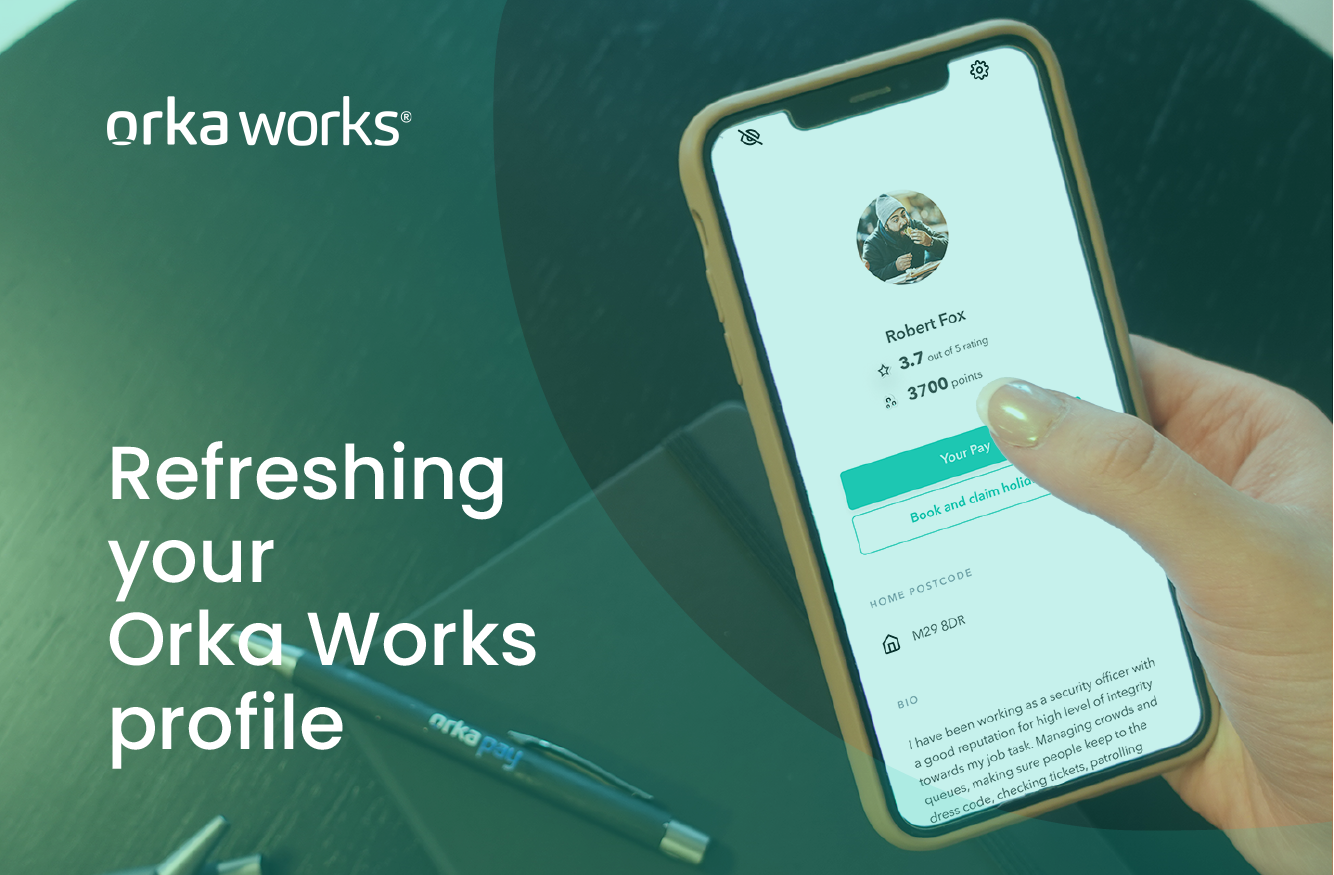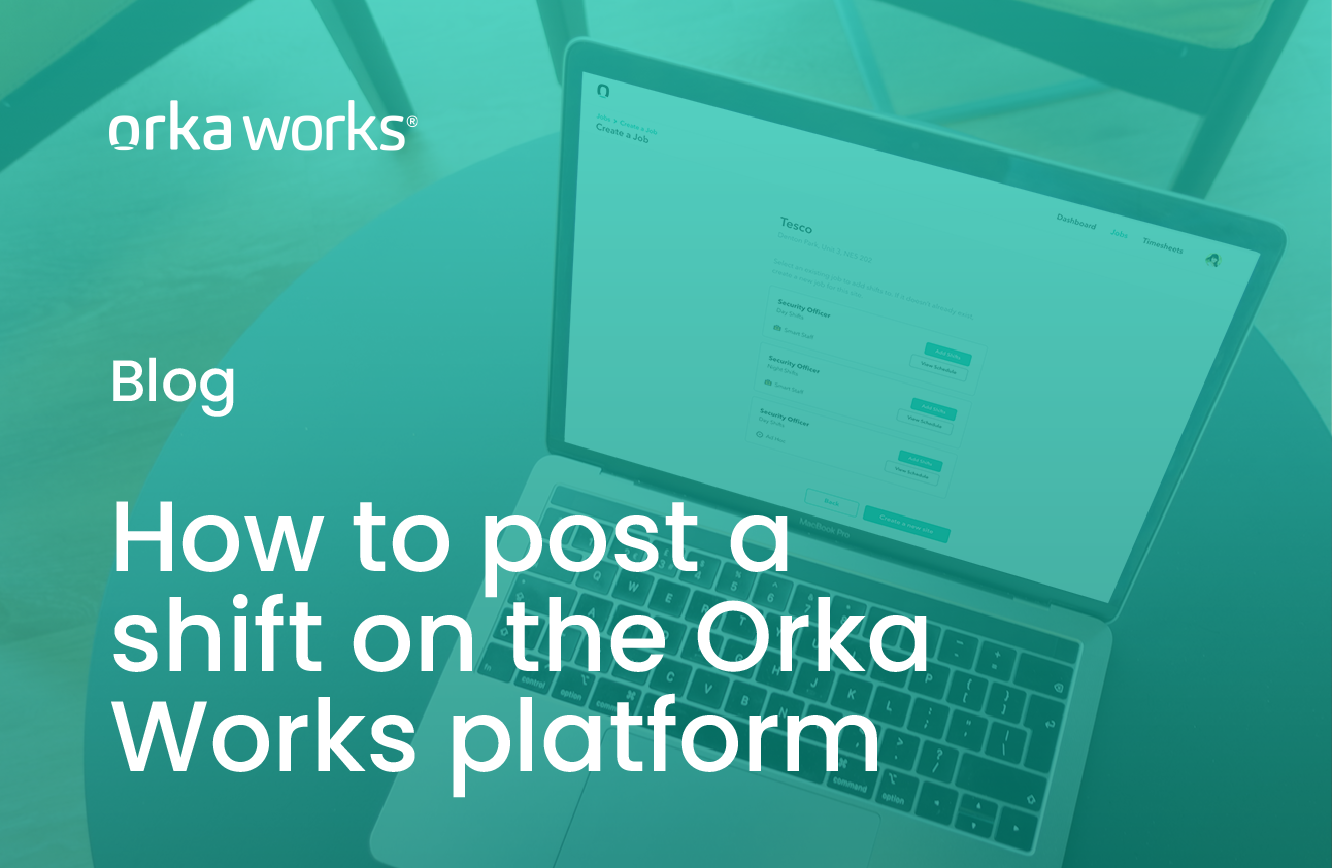
Here’s a quick refresher course for any Orka Works Portal users that teaches you how to create sites, post jobs and add shifts to the Orka Works Portal. Whether you are filling security requirements for events or hiring for a permanent position, Orka Works makes it easy to add sites, jobs and shifts.
Let’s get started!
A three-step process
To add a new shift on the Orka Works Portal, you’ll first need to:
- Create a site
- Create a job on this site
- Then, you can add all the shifts you want!
The first step (creating a site) is usually done during the Orka Works implementation phase. Your Account Manager will take you through this step by step so the Orka Works Portal is ready for you to use.
For the sake of this tutorial, let’s have a quick look at creating a site.
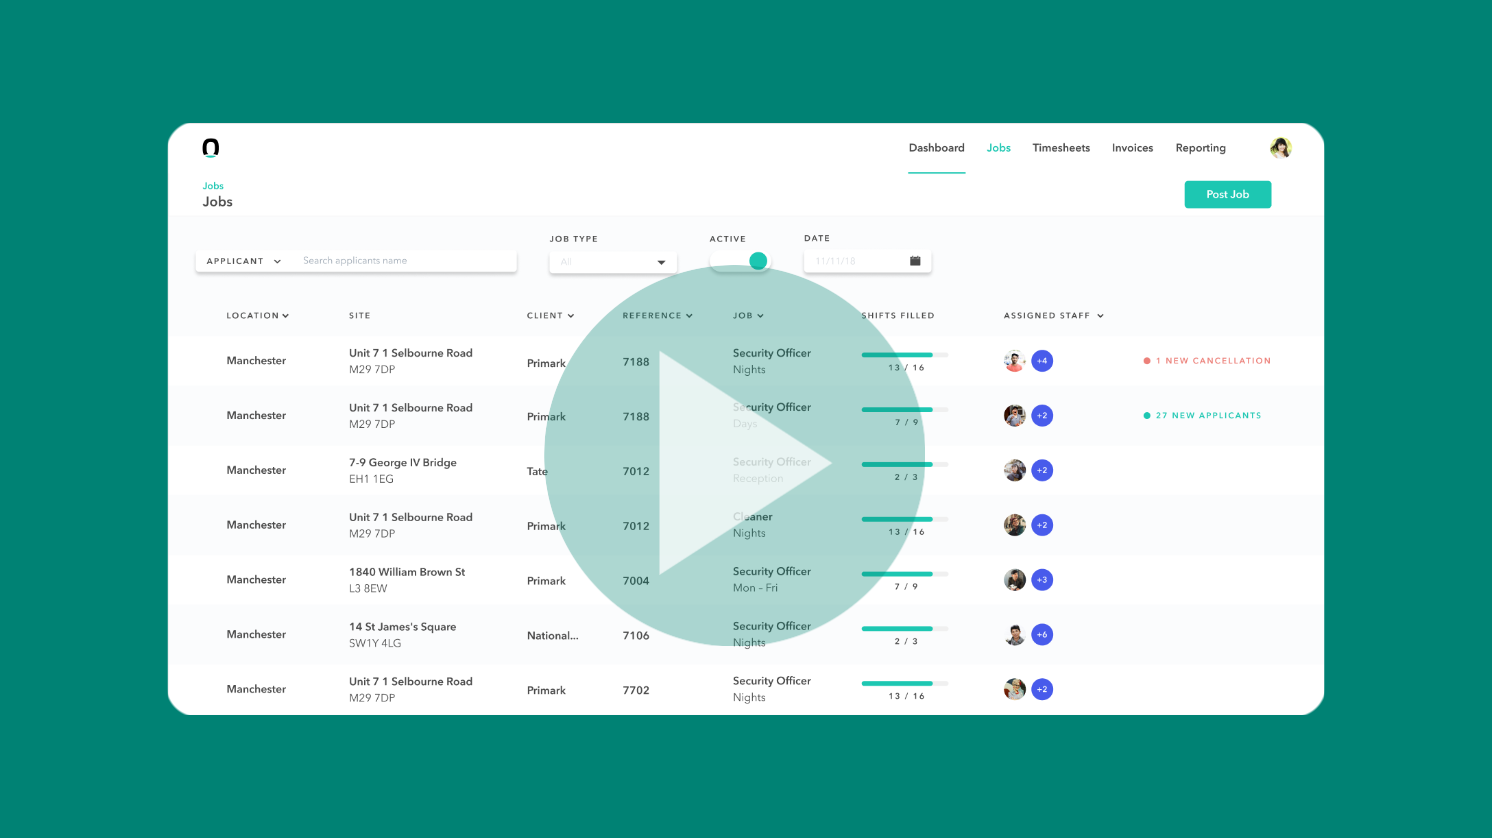
- From the Orka Works Portal, navigate to the Jobs page. In the right-hand corner, click the Post Job+ button.
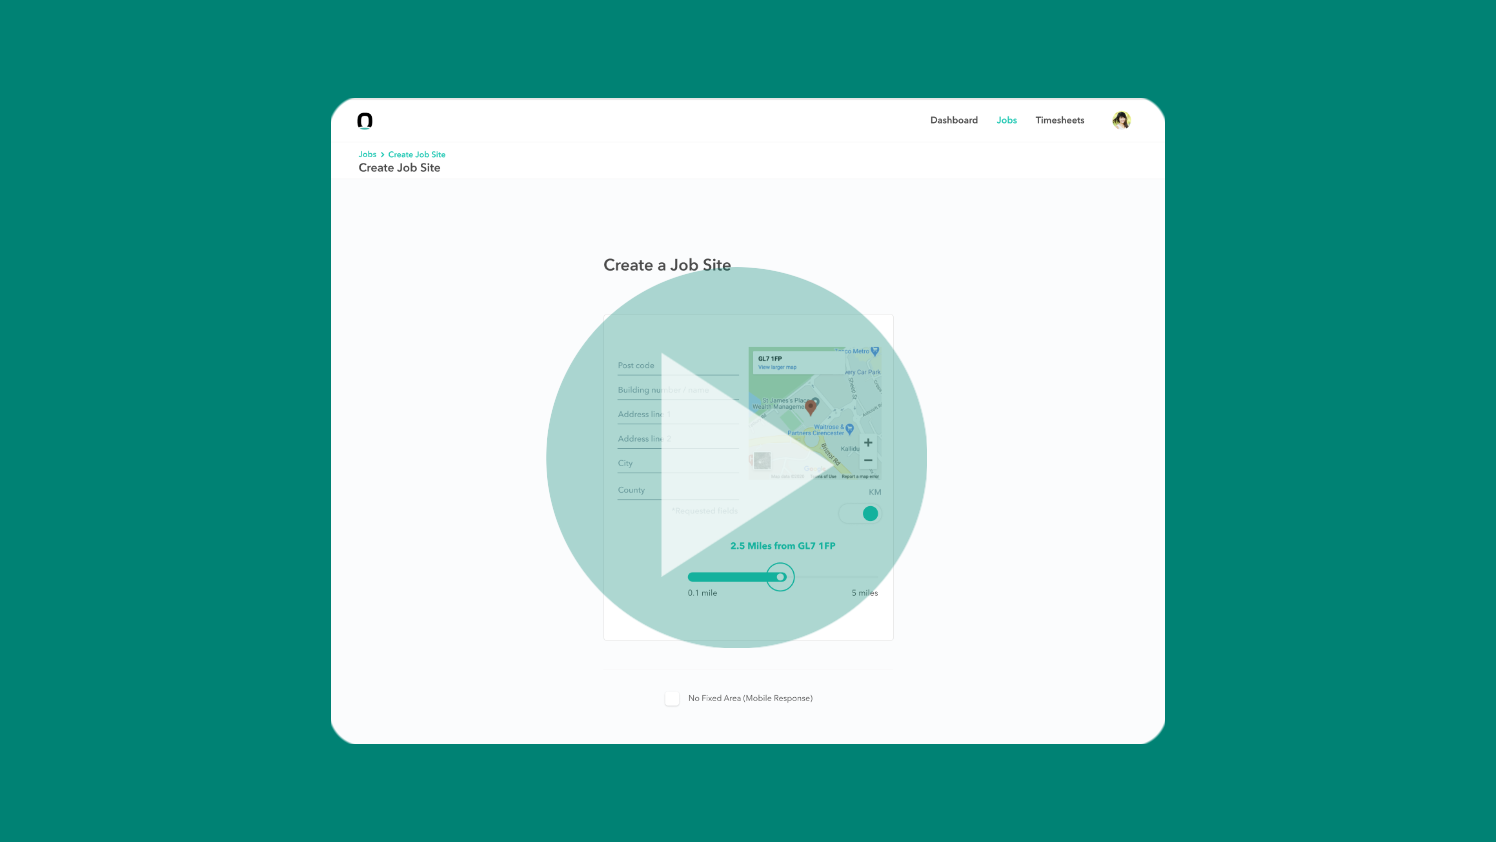
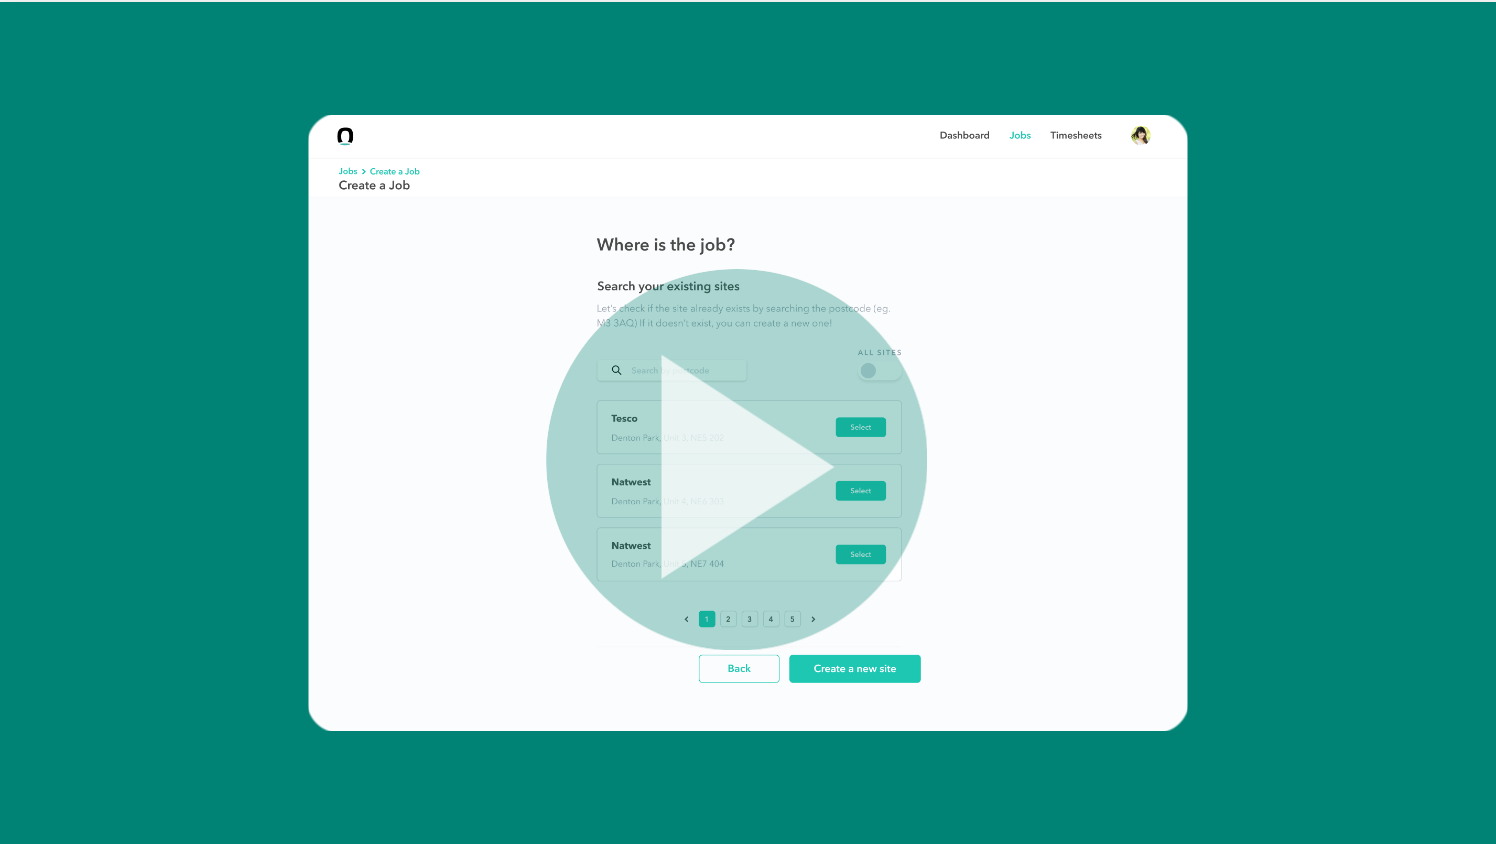
- When you land on the Jobs page, scroll to the bottom to find the Create New Site button. Click this to create a job site.
- Next up, enter the postcode and select the correct address.
- This step also allows you to add Geofencing to the site to determine at which range you want workers to be able to clock in and out of the site. This feature is great for any site, for example, if you’re working to fill security requirements for events, you can determine how close a worker needs to be to the site to check in.
- You can then add the client name, select the site type, and add further details. We recommend being as detailed as possible at this stage, as this will give our workers a smoother onboarding to their first shift.
- When you’re done, click the Review button on the bottom right.
- This is the final stage! Here, you can add a staff member to the site. This person receives all updates about the site, such as applications, clock-ins, clock-outs or cancellations.
- Once you’re happy, click Save.
Your site has now been created!
Creating a job
You’re now ready to create a job.
Some key points to remember are making the opportunity as attractive as possible, clarifying if it’s Ad hoc or Permanent work and specifying licence types or additional requirements.
Here’s how you do it:
- First, select your Sector. Then choose the Role Type, where you have several options, and then select the Industry.
- After this, it’s time to start building out the job description, starting with the Job Title. A preview window will appear on the right as you build out details such as job description and pay rate to guide you.
- Select the Licence Requirements and any Additional Requirements you’d need from the worker as directed. You can use the Additional Requirements section to define a specific type of worker or if any particular experience is required for the role.
- Next, under Employment model, define if your job is Ad hoc or for a Temp-to-perm role, select our SmartStaff option. This makes it easy for workers to differentiate between temporary work, like filling security requirements for events, and permanent jobs.
- After that, enter the pay rate. This action will also break down any fees charged by Orka Works, as we want to keep our processes completely transparent. You can also select how you’d like to treat Bank Holiday pay rates at this stage.
- Next, give the worker as much detail as possible about the workplace and uniform requirements.
- Finally, you can add a Job reference or a PO number.
There are several ways to add a shift, and sometimes this is a matter of preference. All these methods are designed to save you time and get shifts posted with minimal manual data entry. One of the most popular ways is to start from your jobs page by selecting your site, the job and then clicking the Add Shift button.
- From here, enter the date, time, hourly pay and the number of staff required for the shift. You can also declare if the workers will be alone on site.
- You can add as many shifts as you want to the job at this stage.
You also have the option of adding Shift patterns. You can choose between pre-built shift patterns or build your own. This will allow you to add multiple shifts at a time.
- Following this, you can choose between notifying the people in your area that new shifts are available. We have an effective notification system where you can let workers of your choice know about the opportunity. You can choose between notifying every Orka Worker in this area, people who have worked on your site before or specially selected workers.
- The next step is reading and accepting our Cancellation Policy. Once you’re happy, click next, and all your shifts will be added to the job. Once a shift is posted and approved, only fully vetted workers will be able to apply for the role.
That’s how easy it is to post a shift to the Orka Works Portal! Remember you can always contact your Account Manager with any questions or issues.
